
Car guys like to brag about the special performance features of their cars, like a double overhead cam engine, 4:11 rear end, monococque chassis, or variable valve timing. Conversely, when they want to disparage someone else's car they credit it with having "high compression floor mats", "positive traction seat covers", or even a "high performance radiator cap".
Like Rodney Dangerfield, the lowly radiator cap gets no respect. Say what you will about them (many modern cars do not even have them any more!), if your car has one and it isn't working you will soon be in big trouble. But there was a time when the radiator cap virtually defined the car itself.
During the Arizona Concours the shutter activator mechanism and the radiator drain plug gave no problems, but the radiator cap did not seal at all, allowing the expanding coolant (just water) to overflow. No damage was done, but it was obvious that this was a problem that had to be addressed.
The first step was to figure out a way to test how much pressure the cap could contain. I connected a hand-operated MityVac pump to the cap and quickly discovered that the gasket at the bottom of the pump would not hold any pressure at all. At this point I started asking around about how to rebuild a radiator cap. Over and over I heard the same advice: "You can't fix them. Just get a new one!" Yes, that would be the quickest way to solve the problem, and caps that will fit a 1955 Alfa 1900 are readily available. But now I was curious, and unable to resist listening to that dangerous little voice that has led many a well-intentioned tinkerer to tilting at windmills--and a few to solve important problems. Besides, it was the original cap and I wanted to save it if I could.
It was apparent that the seal at the bottom of the cap, hard and permanently creased after 60 years of being pressed against the radiator neck wasn't doing its job, and would have to be replaced. This led to disassembling the lower part of the cap and discovering just how fiendishly simple it was.
Disassembled, it looks overly fussy and complicated, the kind of mechanism that results more from a century of slow, incremental trial-and-error development than from careful engineering. My first impression was all I have to do is replace the withered, hardened original lower rubber seal with a softer, thicker one made of silicone that will hold the right amount of pressure. No need to disassemble the upper part of the cap where the upper seal and big spring is.
But what, exactly, was the right pressure? I asked around and discovered that there was no strong agreement among experienced authorities, and even the omniscient Web couldn't give me a definitive answer. The Alfa Romeo service manual for 1900s states that the engine is designed to run at a maximum temperature of 220 to 230 degrees F, which would put the coolant well above the boiling point, particularly here where we live at the altitude of 7,000 ft and atmospheric pressure is only about 40% of what it is at sea level. The manual also gives a pressure value of 0.3 kg/cm2. In the metric system nominal atmospheric pressure at sea level is 1 bar (about 1 kg/cm2), or 14.5 psi. So 0.3 X 14.5 psi = 4.35 psi. That seemed low to me so I ended up setting the pressure a little higher.
The first attempt worked great! Too great, actually. It wouldn't release pressure even at 30 psi! For the second attempt I used a rubber diaphragm from a scuba regulator, which just happened to be the right diameter and thickness for the seal. That worked better and I thought I was through . . . until I realized that a radiator cap has to have a mechanism to let air back into the system as well as letting steam out, which began to explain the presence and configuration of the other four parts of the seal as well as the overly large hole in the center of the lower seal.
The mechanism in question is a simple poppet valve ("valvola di depressione" in the illustration below from the Alfa service manual). It remains closed when under pressure, but as pressure is reduced it opens to allow pressure inside the radiator to equalize with ambient pressure.
By now you are probably thinking this is way more than you need to know about radiator caps. I agree. No one needs to know any of this if they have a modern car and pay even just cursory attention to its needs. I would guess that 90+% of all drivers have never touched a radiator cap in their lives and have no desire to start now. Today's humble radiator cap is an example of that rare class of simple yet critical mechanical devices that have been around so long and refined so thoroughly that they are utterly reliable and so maintenance free that they have become invisible--except to carchaeologists!
OK, I didn't solve any important problems, but I did get my original cap working again--eventually--and have a new appreciation for being under pressure!
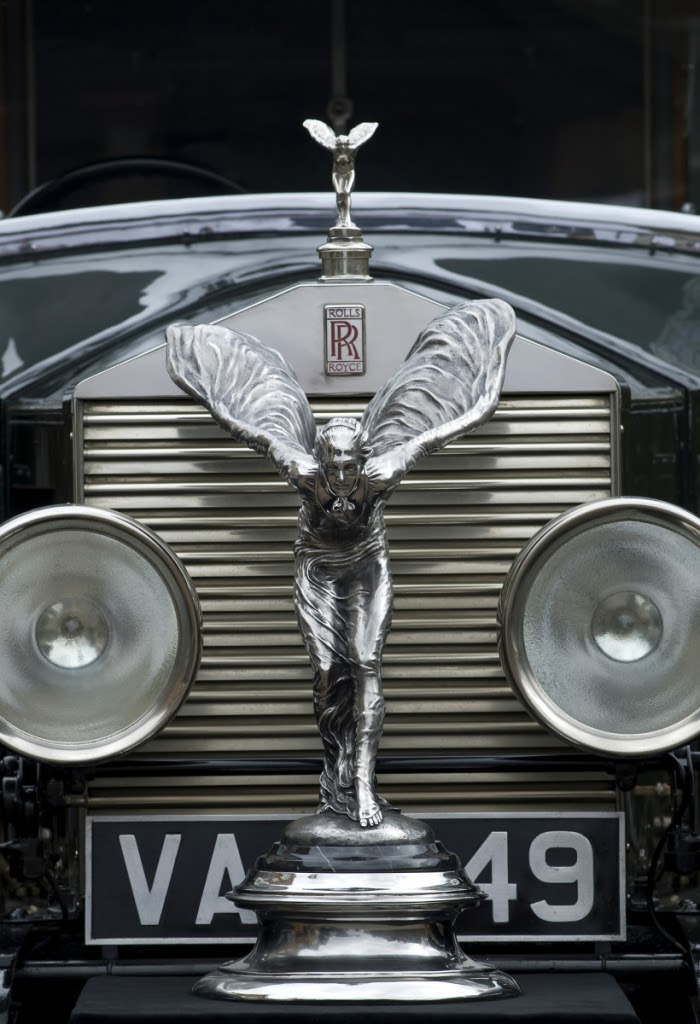 |
| Rolls Royce radiator cap. Adrian Brown. |
 |
| Bentley radiator cap. |
Like Rodney Dangerfield, the lowly radiator cap gets no respect. Say what you will about them (many modern cars do not even have them any more!), if your car has one and it isn't working you will soon be in big trouble. But there was a time when the radiator cap virtually defined the car itself.
Letting Off Steam
A radiator is, of course, just as essential as a car's gas tank, battery or its tires. The Alfatross' original radiator needed a new core (the part with all the fins), but the upper and lower tanks and frame were fine. My main concerns were over the curious piston and cylinder device that sits in the center of the header tank, and how to insure it wouldn't leak. I devoted a lot of time and effort to making sure the cylinder and radiator drain plug were water tight, without giving a second thought to the radiator cap. Big mistake. |
| The piston and cylinder device encased in the radiator header tank looked like an ideal place to spring a leak. As the coolant in the radiator heats up, the fluid in the cylinder expands an pushes the piston against a lever arm to open the shutter in front of the radiator. |
Tilting at Windmills
 |
| The MityVac radiator pressure tester and its various adapters were indispensable for testing and rebuilding the radiator cap. |
It was apparent that the seal at the bottom of the cap, hard and permanently creased after 60 years of being pressed against the radiator neck wasn't doing its job, and would have to be replaced. This led to disassembling the lower part of the cap and discovering just how fiendishly simple it was.
 |
| Fiendishly simple. Left to right: The upper part of the cap with the upper seal, lower seal backing plate, poppet spring, poppet valve, lower seal, bottom plate. |
But what, exactly, was the right pressure? I asked around and discovered that there was no strong agreement among experienced authorities, and even the omniscient Web couldn't give me a definitive answer. The Alfa Romeo service manual for 1900s states that the engine is designed to run at a maximum temperature of 220 to 230 degrees F, which would put the coolant well above the boiling point, particularly here where we live at the altitude of 7,000 ft and atmospheric pressure is only about 40% of what it is at sea level. The manual also gives a pressure value of 0.3 kg/cm2. In the metric system nominal atmospheric pressure at sea level is 1 bar (about 1 kg/cm2), or 14.5 psi. So 0.3 X 14.5 psi = 4.35 psi. That seemed low to me so I ended up setting the pressure a little higher.
 |
| The spring-loaded poppet valve lets air back into the radiator as it cools to equalize with ambient pressure. |
The mechanism in question is a simple poppet valve ("valvola di depressione" in the illustration below from the Alfa service manual). It remains closed when under pressure, but as pressure is reduced it opens to allow pressure inside the radiator to equalize with ambient pressure.
By now you are probably thinking this is way more than you need to know about radiator caps. I agree. No one needs to know any of this if they have a modern car and pay even just cursory attention to its needs. I would guess that 90+% of all drivers have never touched a radiator cap in their lives and have no desire to start now. Today's humble radiator cap is an example of that rare class of simple yet critical mechanical devices that have been around so long and refined so thoroughly that they are utterly reliable and so maintenance free that they have become invisible--except to carchaeologists!
OK, I didn't solve any important problems, but I did get my original cap working again--eventually--and have a new appreciation for being under pressure!
 |
| Radiator cap schematic from the Alfa service and repair manual showing the cap seated within the filler neck of the header tank, closing it off (a) and in the open position (b), allowing pressure to escape into the filler neck and vent pipe. Note no. 5, the poppet valve that prevents a vacuum from forming in the cooling system. |