I’ve been finishing the instruments, windshield washers,
rally clock, firewall insulation and carpets so I can put the seats and
transmission hump back in and move on to putting The Alfatross back on the
road, but there was one more thing left to do. I can’t believe it took this
long to do something seemingly so simple.
 |
| Although restored, the trim strips on the wheel arches of *02056* are well done. |
 |
| The Alfatross' unadorned wheel arches. |
The Problem
When I got The Alfatross in 1969 the interior was complete
except for the rear quarter panels that were lost when the previous owner had
the car repainted in 1965. As part of The Alfatross’ restoration, I sent it to
Paul Russell for re-trimming. There, Derrick
Dunbar did a fabulous job, and recreated the missing quarter panels, but
because I could not provide him with any information about the thin polished
aluminum trim strips on the rear wheel arches protruding into the cabin on
either side of the vestigial “back seat”, he omitted them. Some restored cars do not have them e.g. *01954*, but all of the most
original cars I have seen have the same trim strips. Although The Alfatross’ were lost, the
fastener holes were clearly visible in the original upholstery over the steel
chassis as well as the chassis itself.
 |
| The restorer of *01954* decided to omit the trim strips . |
 |
| Thought to be highly original, *01915* has the trim strips |
 |
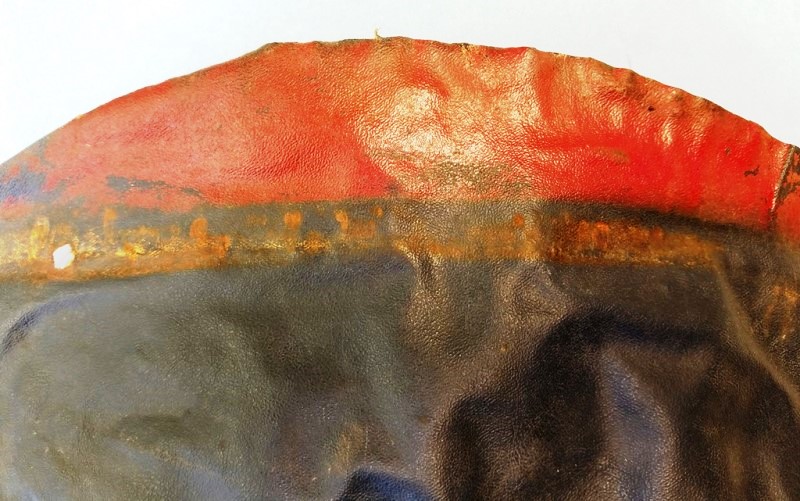
| The Alfatross' original wheel arch cover showing holes. |
The Strategy
Obviously, these hand-made trim pieces are not available at
your local Zagato store, and although there might be an experienced aluminum
fabricator in my area it was going to be the kind of job that involved a lot of activity inside the car so I decided to take a shot at making reproductions
myself. What were the original dimensions?
What type of fasteners were used? What was the level of
workmanship? I didn’t know. The only thing I had to go on was photos of
them in original cars.
This is a part of any car that is almost never
photographed, but I was lucky enough to get revealing photos of *01915*,
*01845*, *02056*, and *01947*. From them
it was clear that each wheel arch had one strip running up over the top
adjacent to the quarter panel and another running up the side of the hump, both
secured by three screws and meeting at a miter at the top of the wheel
arch. I concluded they were made of
aluminum because that was used on virtually all other trim on the car, and
because it is relatively easy to shape and can be polished to a bright shine.
 |
| Filing and sanding, filing and sanding, filing and sanding |
The Process
It seemed like a simple task. All I had to do was find some
aluminum bar stock with the right dimensions, cut it to length, radius one edge,
create smooth curves hugging the shape of the wheel arches, drill a few holes
and screw them into place. The first
problem was obtaining the stock. I could
not find it locally so had to order it online, and it was only sold in 12 ft
lengths that had to be cut down to 6 ft for shipping. I ruined several pieces trying to create the
edge radius, even resorting to nearly disastrous experiments on a router table before
finally resigning myself to hours of Old School manual filing and sandpapering.
Capturing the smooth arc of the wheel arch at the quarter
panel was a piece of cake, but the strip running up the side of the arch was much
more of a challenge because it had to have a three-dimensional shallow S-shape
with a subtle twist along its length. Suffice
it to say that my aluminum recycle bin was getting overcrowded.
 |
| Annealing and shaping one of the trim strips. |
I wasted time making patterns from thin copper strips to
create plank-and-wooden-peg bending jigs without much success until I pulled
out my propane torch and experimented with annealing the aluminum strips. After
that, it was possible to do most of the shaping, bending and twisting with just
my bare hands—but it was a tedious business:put it in, take it out, tweak
it, repeat. Then there was the necessity of the two pieces meeting in a precise
miter at the top of the arch.
 |
| The finished product. Obsession satisfied. |
The Result
Yes, it took way too long, and maybe it isn’t a perfect
match for the original material, but now after final buffing and installation
the interior has a more finished appearance in line with the rest of the
car. More importantly, now I can
reinstall the seats and carpets and get on with putting The Alfatross back on
the road!